DIY Guide: How to Safely Install Structured Cabling in Small Offices
Understanding Structured Cabling
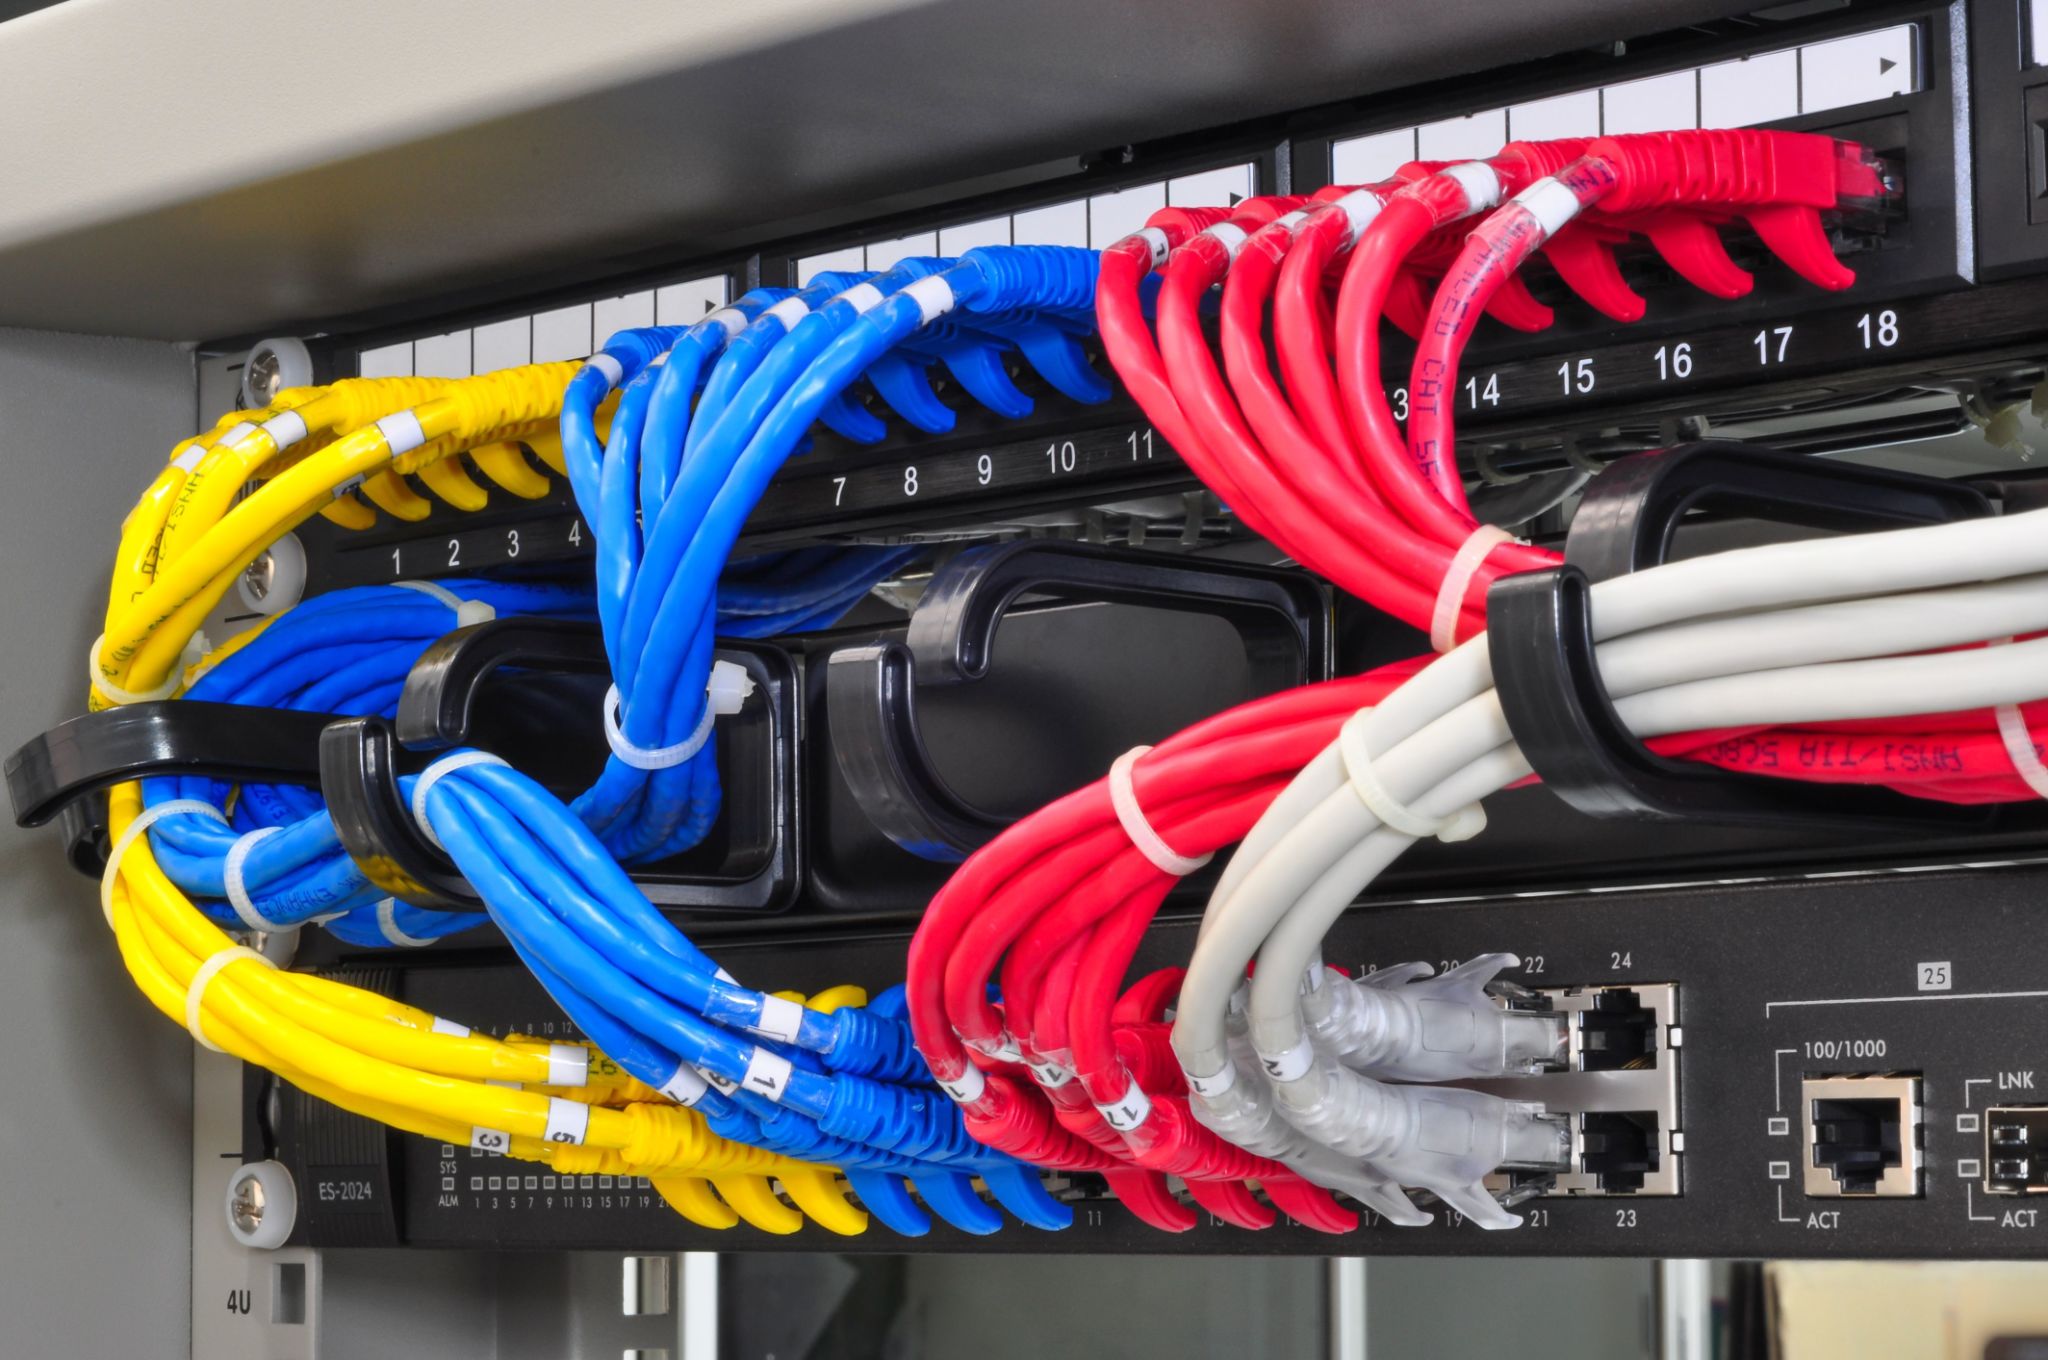
Structured cabling is the backbone of any office network, providing a reliable and organized way to connect your devices to the internet and each other. Whether you're setting up a new office or upgrading an existing one, installing structured cabling can enhance your network's performance and flexibility. In this guide, we'll walk you through the steps of safely installing structured cabling in a small office environment.

Assess Your Office Needs
Before you start the installation process, it's crucial to assess your office's specific needs. Consider the number of devices that will be connected, the types of data they will transmit, and the layout of your office space. This information will help you determine the type and amount of cabling required.
- Identify the number of workstations and other devices.
- Plan for future expansion needs.
- Consider any specific requirements for high-speed data transmission.
Gather the Necessary Tools and Materials
Having the right tools and materials on hand will make the installation process smoother and more efficient. Here is a list of essential items you'll need:
- Cat5e, Cat6, or Cat6a cables (depending on your needs).
- RJ45 connectors.
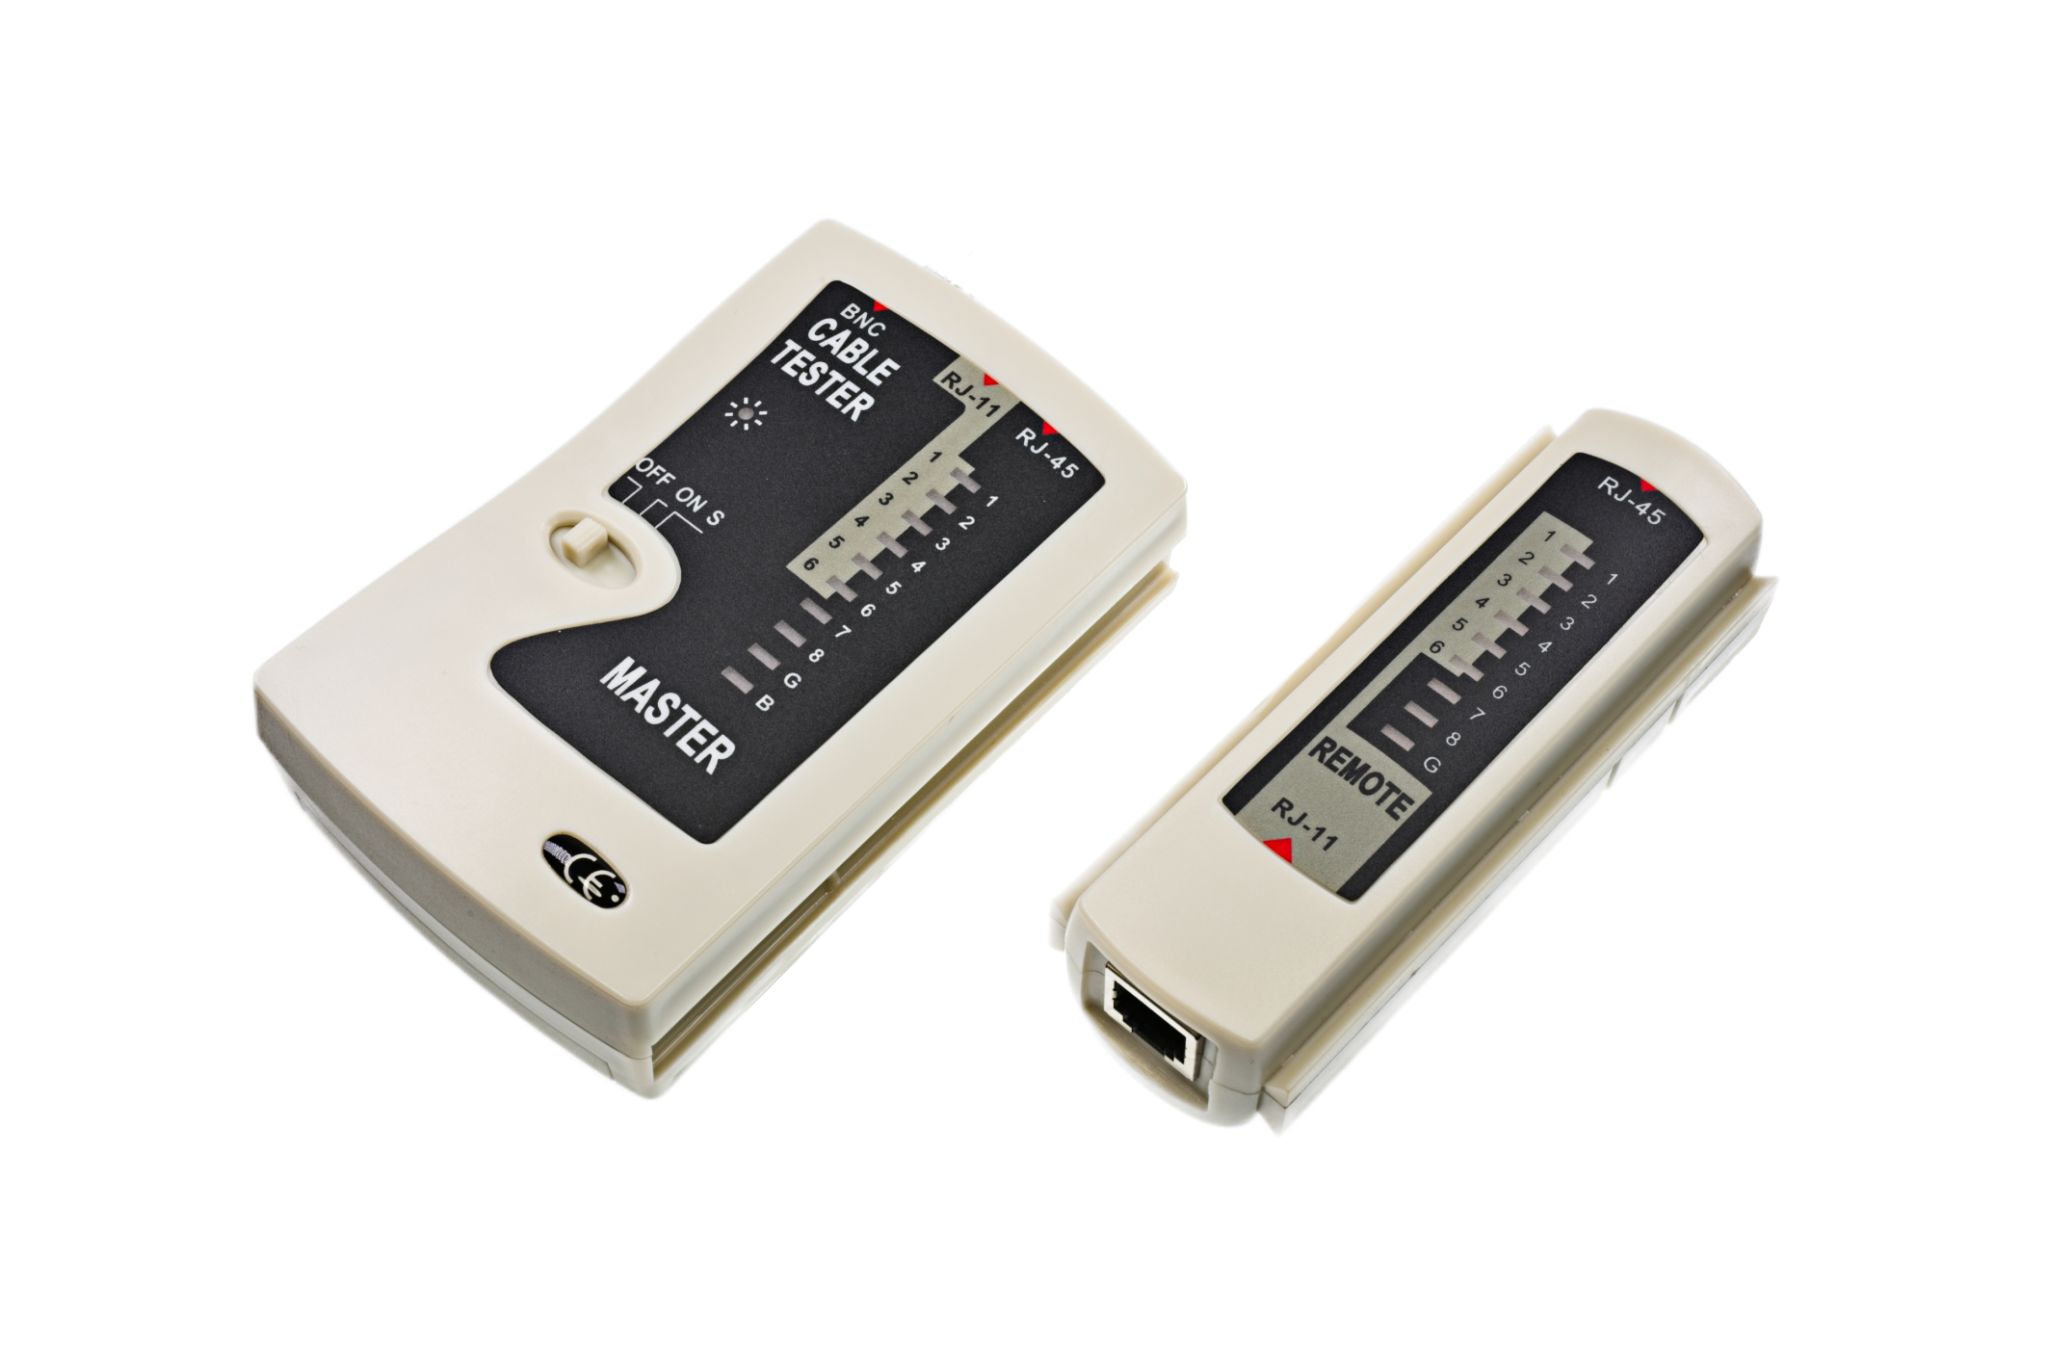
- Cable tester.
- Cable crimper and stripper.
- Cable management tools such as zip ties and cable trays.

Design Your Cabling Layout
Designing an efficient cabling layout is key to a successful installation. Plan out the paths that your cables will take throughout the office. Avoid placing cables near electrical lines to prevent interference. Use existing conduits and pathways when possible to minimize disruption.
Tip: Label each cable on both ends to make future troubleshooting easier.
Installation Process
Run the Cables
Start by running the cables from the central network hub to each workstation or device location. Ensure that cables are neatly organized and secured using cable ties or trays. Avoid tight bends or kinks in the cables as these can affect performance. If you need to run cables through walls or ceilings, use appropriate tools to drill access points safely.

Terminate the Cables
Once the cables are in place, you'll need to terminate them with RJ45 connectors. Use a cable stripper to remove the outer jacket, then separate and arrange the wires according to the T568A or T568B wiring standard. Insert the wires into an RJ45 connector and use a crimper tool to secure them.
Test Your Connections
After terminating all cables, use a cable tester to ensure each connection is functioning properly. This step is vital to identify any wiring issues before they become major problems. A successful test will confirm that data can be transmitted effectively between devices.

Final Thoughts
Installing structured cabling in a small office may seem daunting at first, but with careful planning and attention to detail, you can achieve a professional and efficient network setup. By following this DIY guide, you can enhance your office's connectivity while saving on installation costs. Remember to always prioritize safety and consult a professional if you encounter any difficulties beyond your expertise.