A Step-by-Step Guide to DIY Structured Cabling Maintenance
Understanding Structured Cabling
Structured cabling is the backbone of any reliable network infrastructure. It involves a system of cables and associated hardware that provides a comprehensive telecommunications infrastructure. This infrastructure supports a range of functions, such as data transmission, telephone services, and other communication needs. Performing regular maintenance on your structured cabling system is crucial to ensure optimal performance and longevity.

Importance of Regular Maintenance
Regular maintenance of your structured cabling system can prevent potential issues and ensure that your network runs smoothly. Over time, cables can become tangled, damaged, or outdated. By maintaining your cabling system, you can avoid costly repairs and downtime. Proper maintenance helps in identifying minor issues before they escalate into major problems.
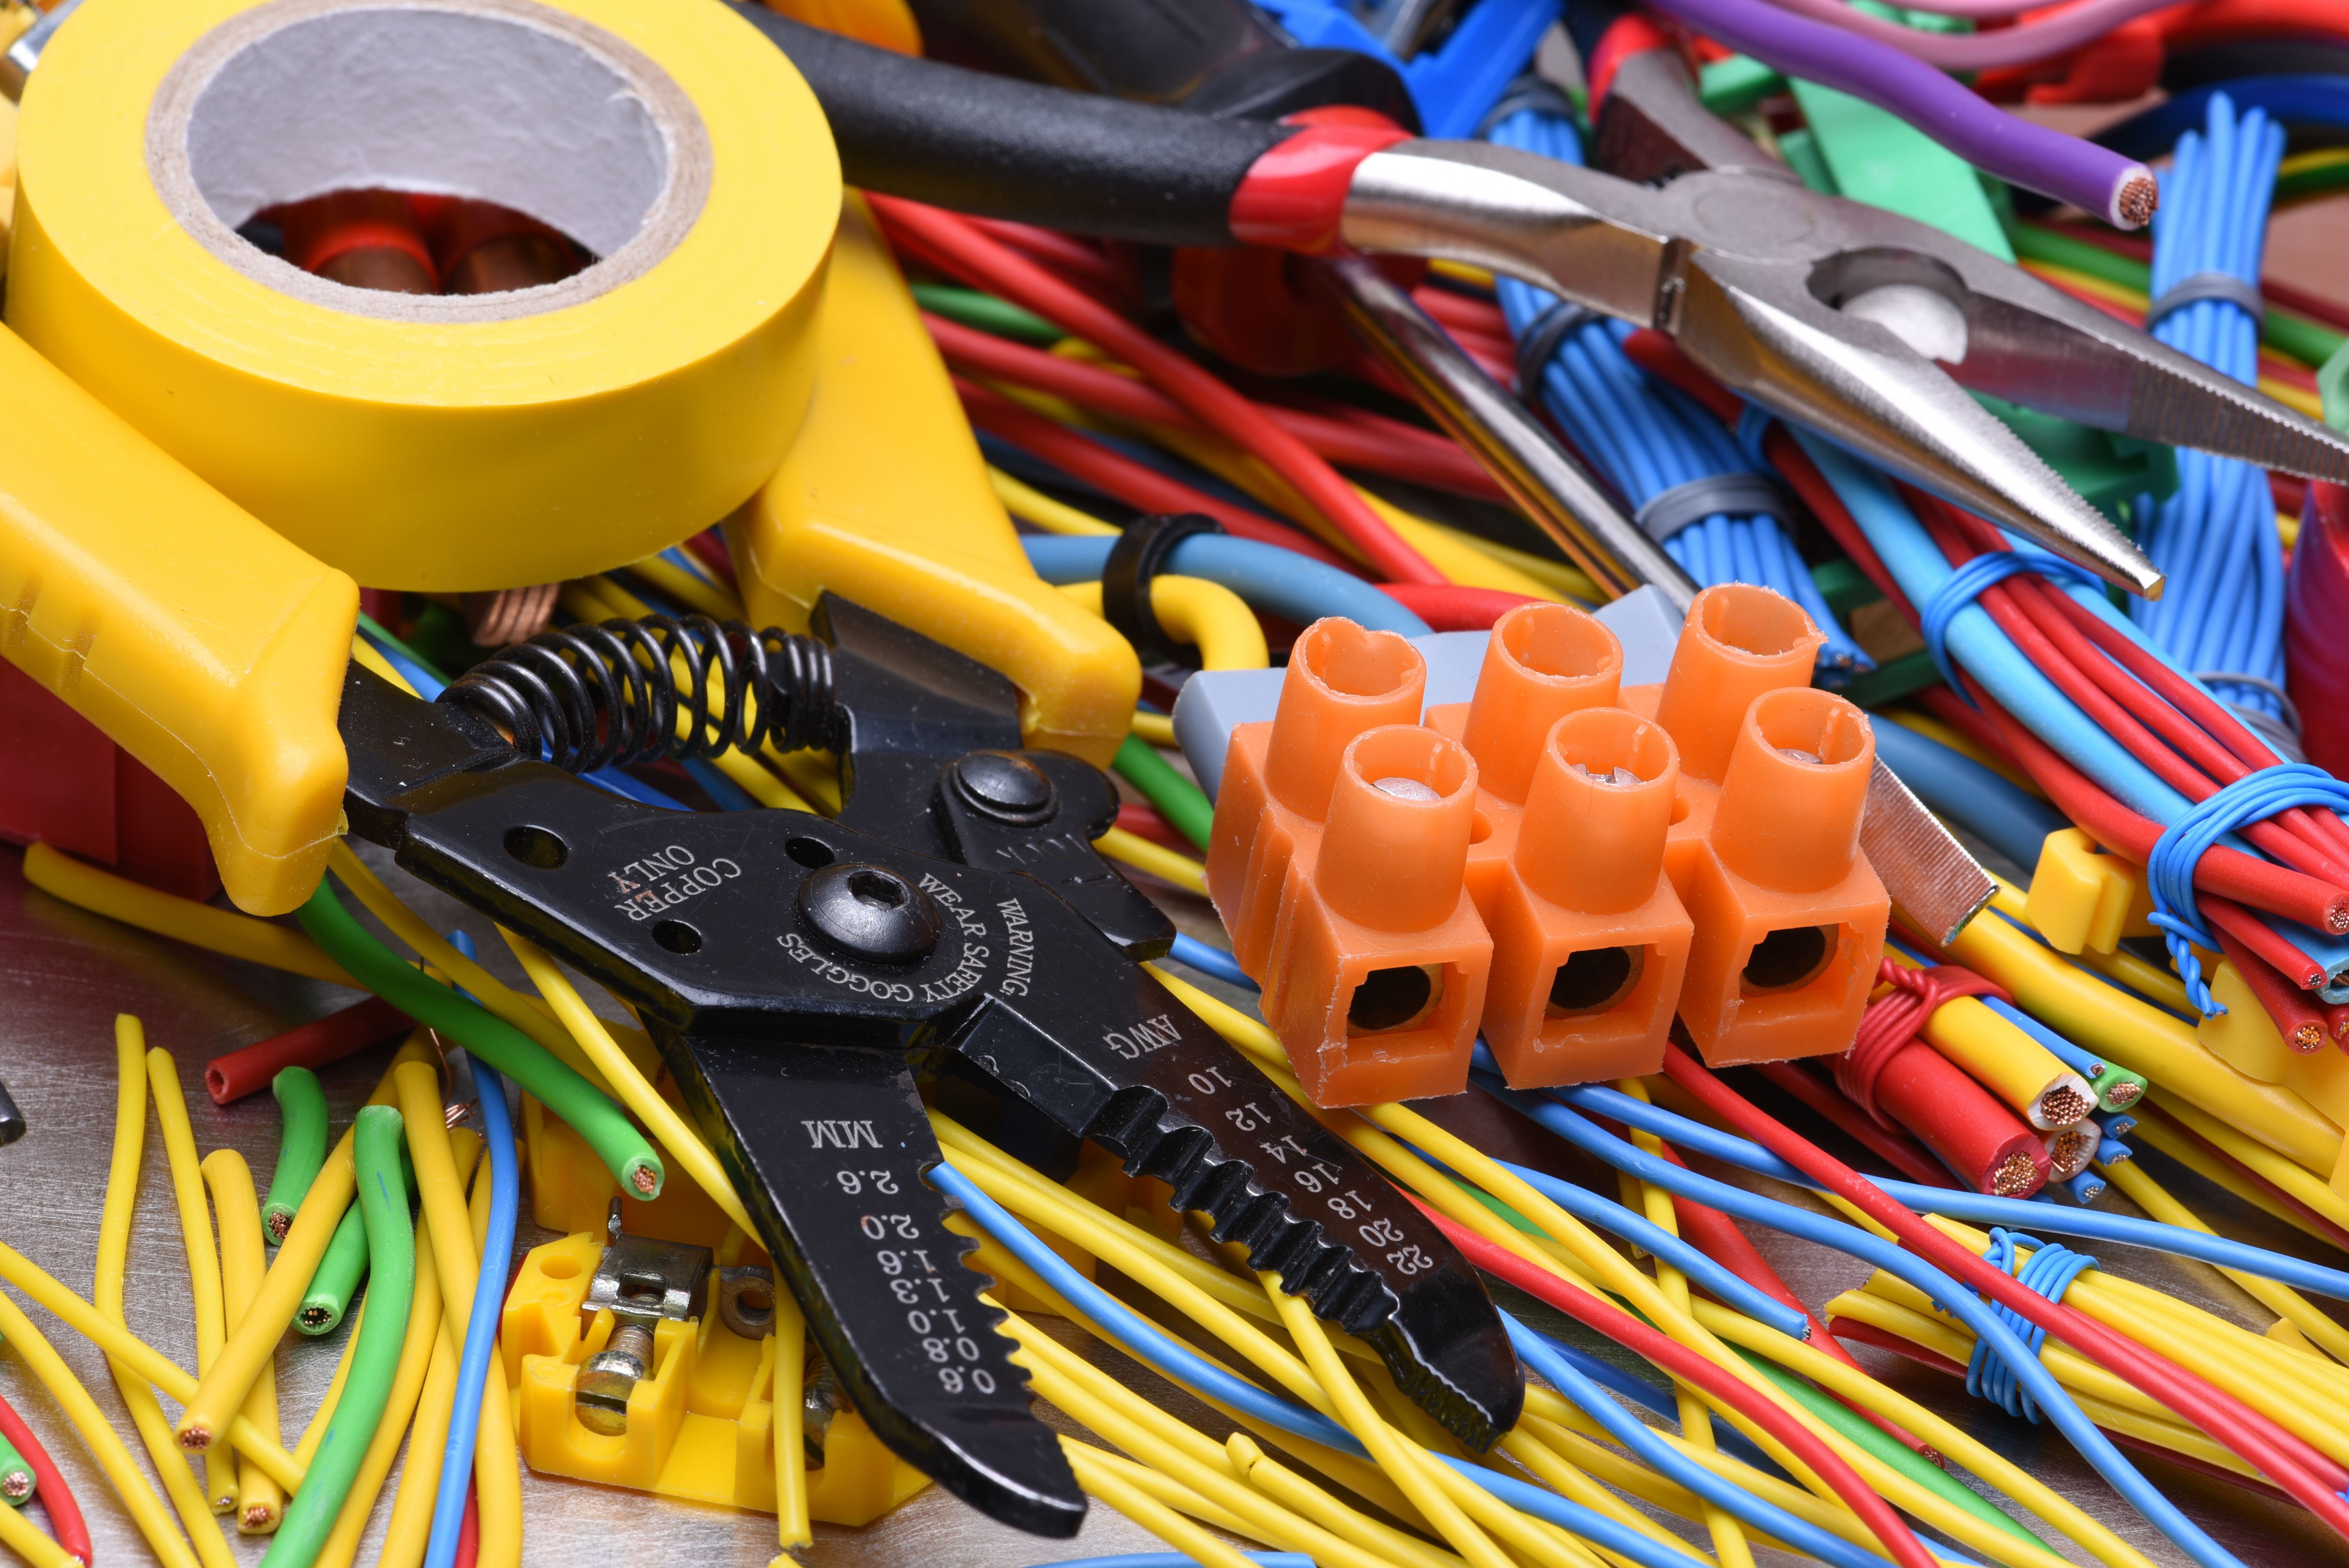
Essential Tools for DIY Maintenance
Before you begin maintaining your structured cabling system, it's essential to have the right tools on hand. Some of the basic tools you'll need include:
- Cable tester: This device helps in testing the integrity of the cables.
- Labeling machine: For organizing and labeling cables accurately.
- Cable ties: To secure and manage cables neatly.
- Punch-down tool: Used for connecting wires to a patch panel.
Step 1: Visual Inspection
Start by conducting a thorough visual inspection of your cabling system. Look for any visible signs of wear and tear, such as frayed or damaged cables. Check for any loose connections or improperly placed cables that may cause interference. This step is crucial for identifying any immediate issues that need attention.
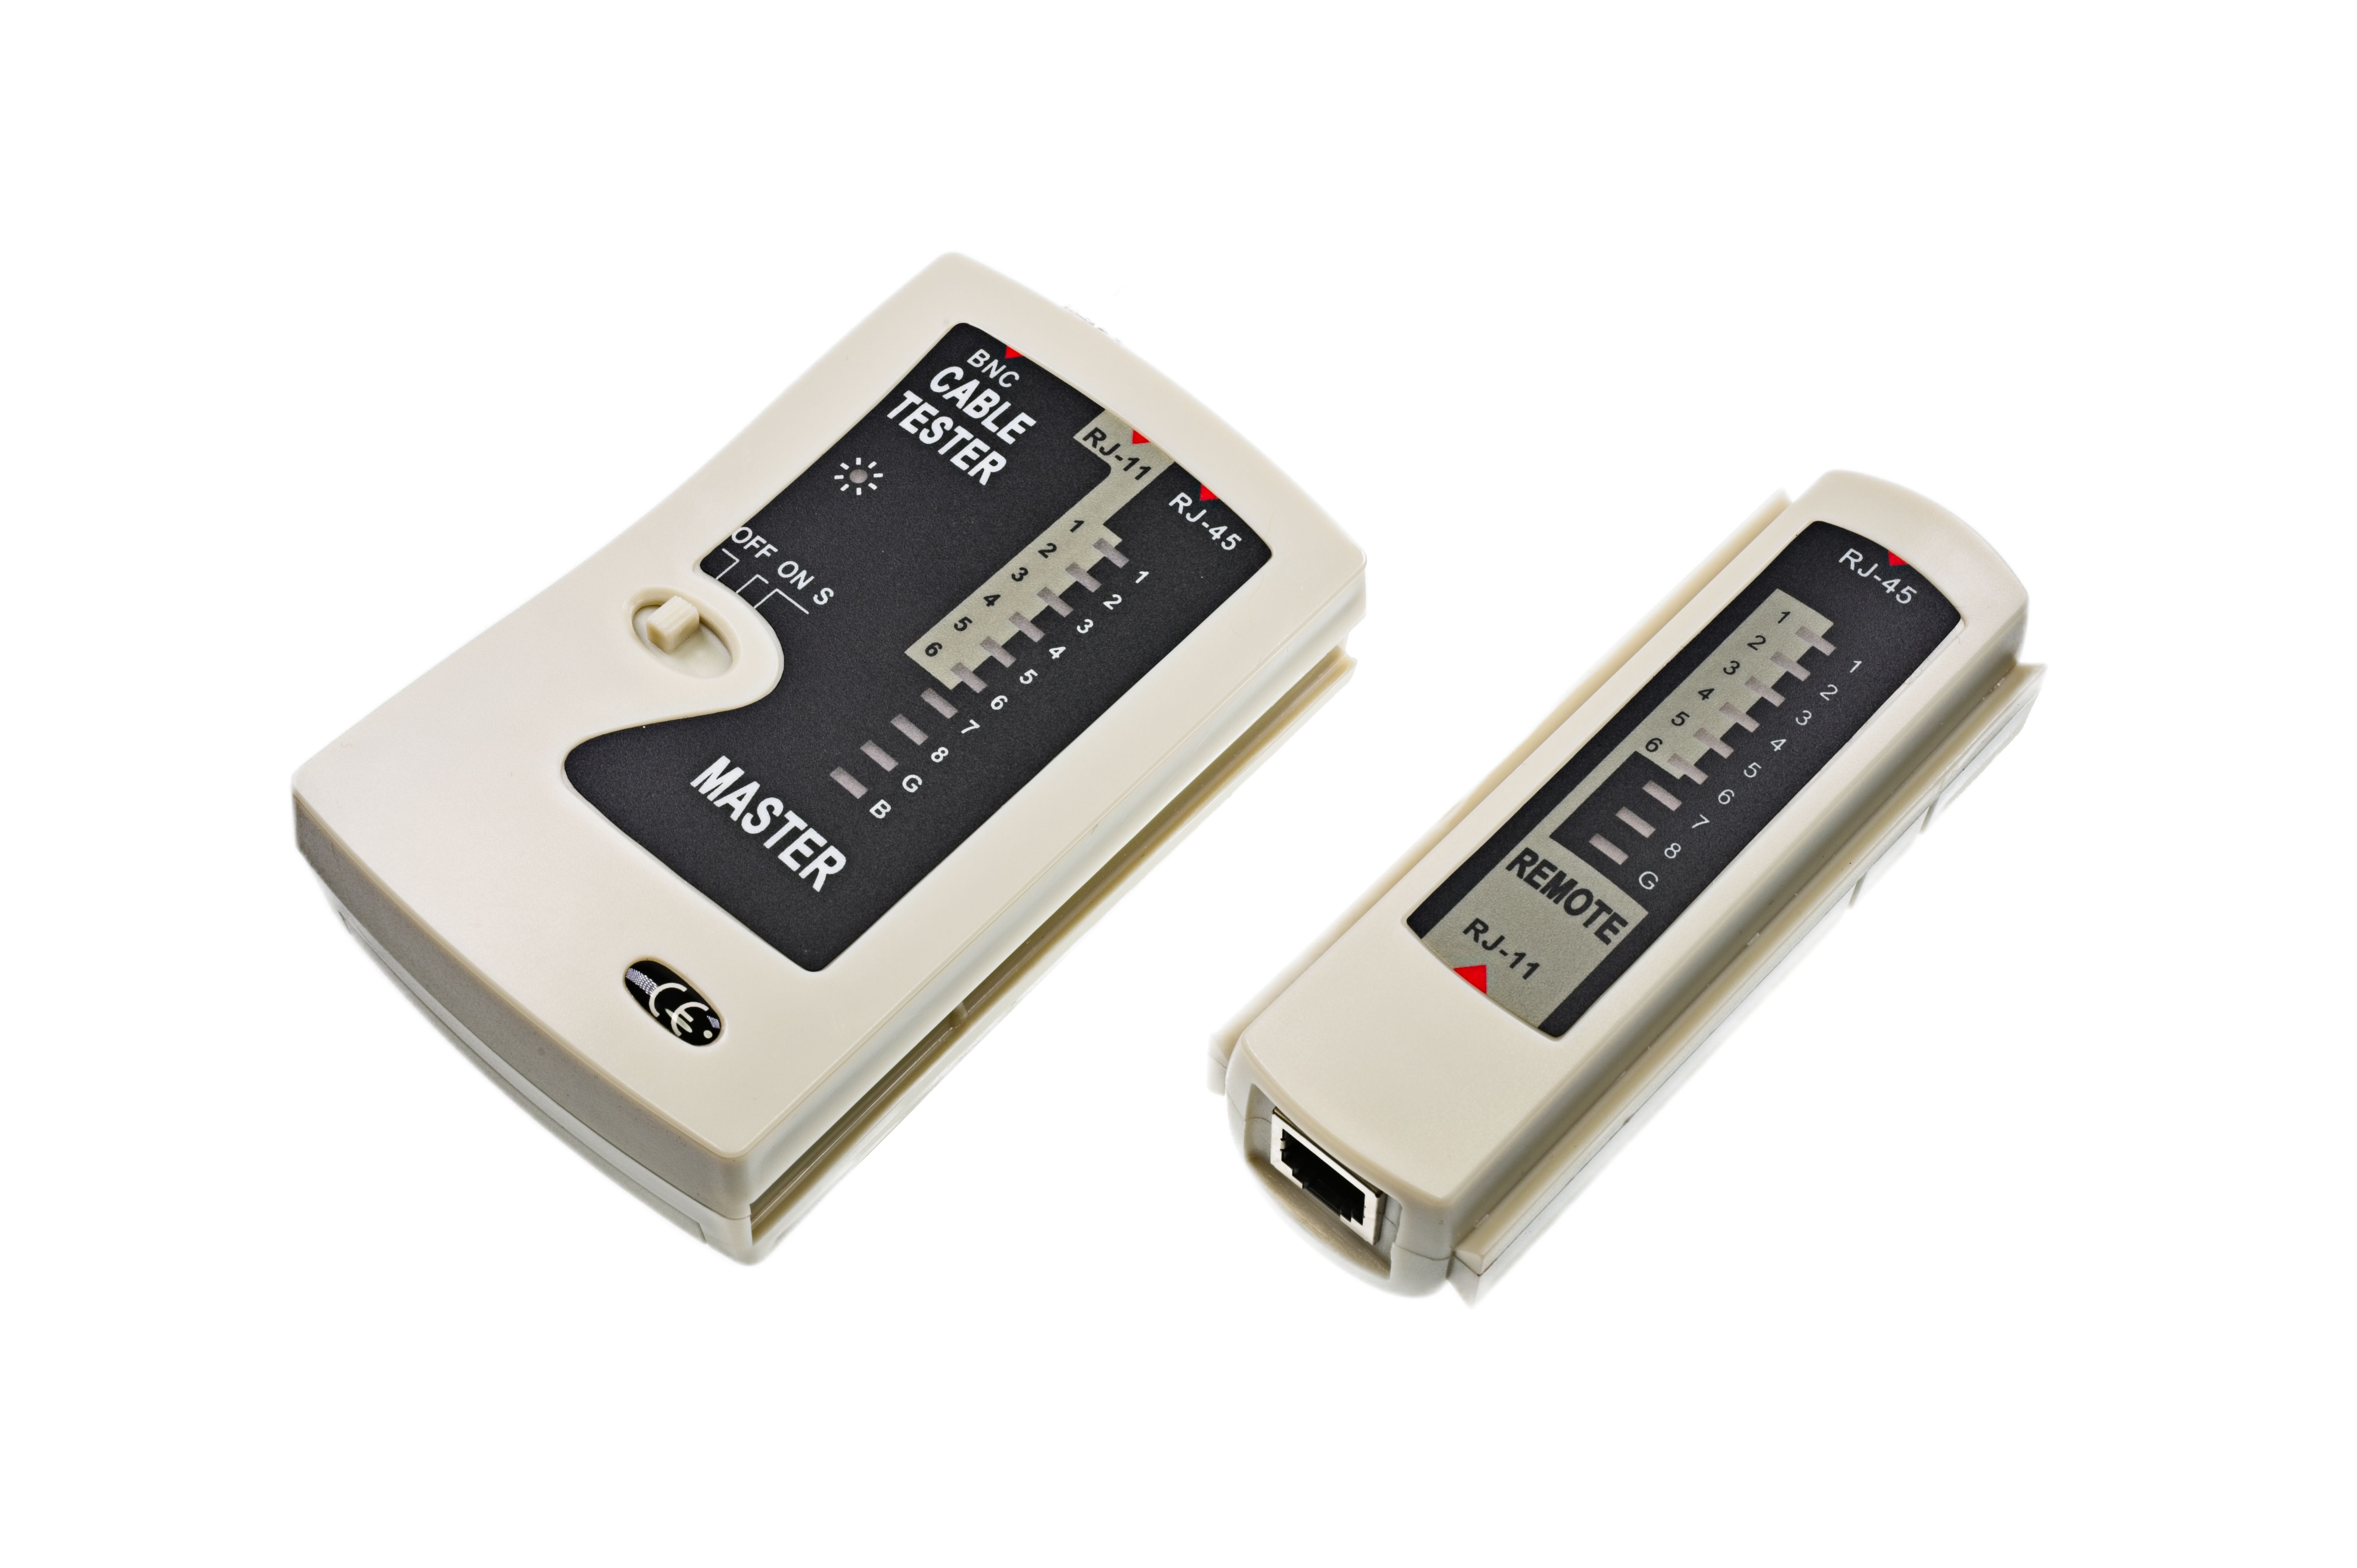
Step 2: Testing Connectivity
Use a cable tester to check the connectivity and performance of your network cables. A cable tester will help identify any faulty connections or broken cables. Follow the manufacturer's instructions to test each cable and take note of any discrepancies that require further investigation or replacement.
Step 3: Organizing and Labeling
Organizing and labeling your cables can save you time and frustration in the future. Use cable ties to bundle cables together neatly, avoiding tangles and potential damage. A labeling machine can help you identify each cable's purpose, making troubleshooting more straightforward.
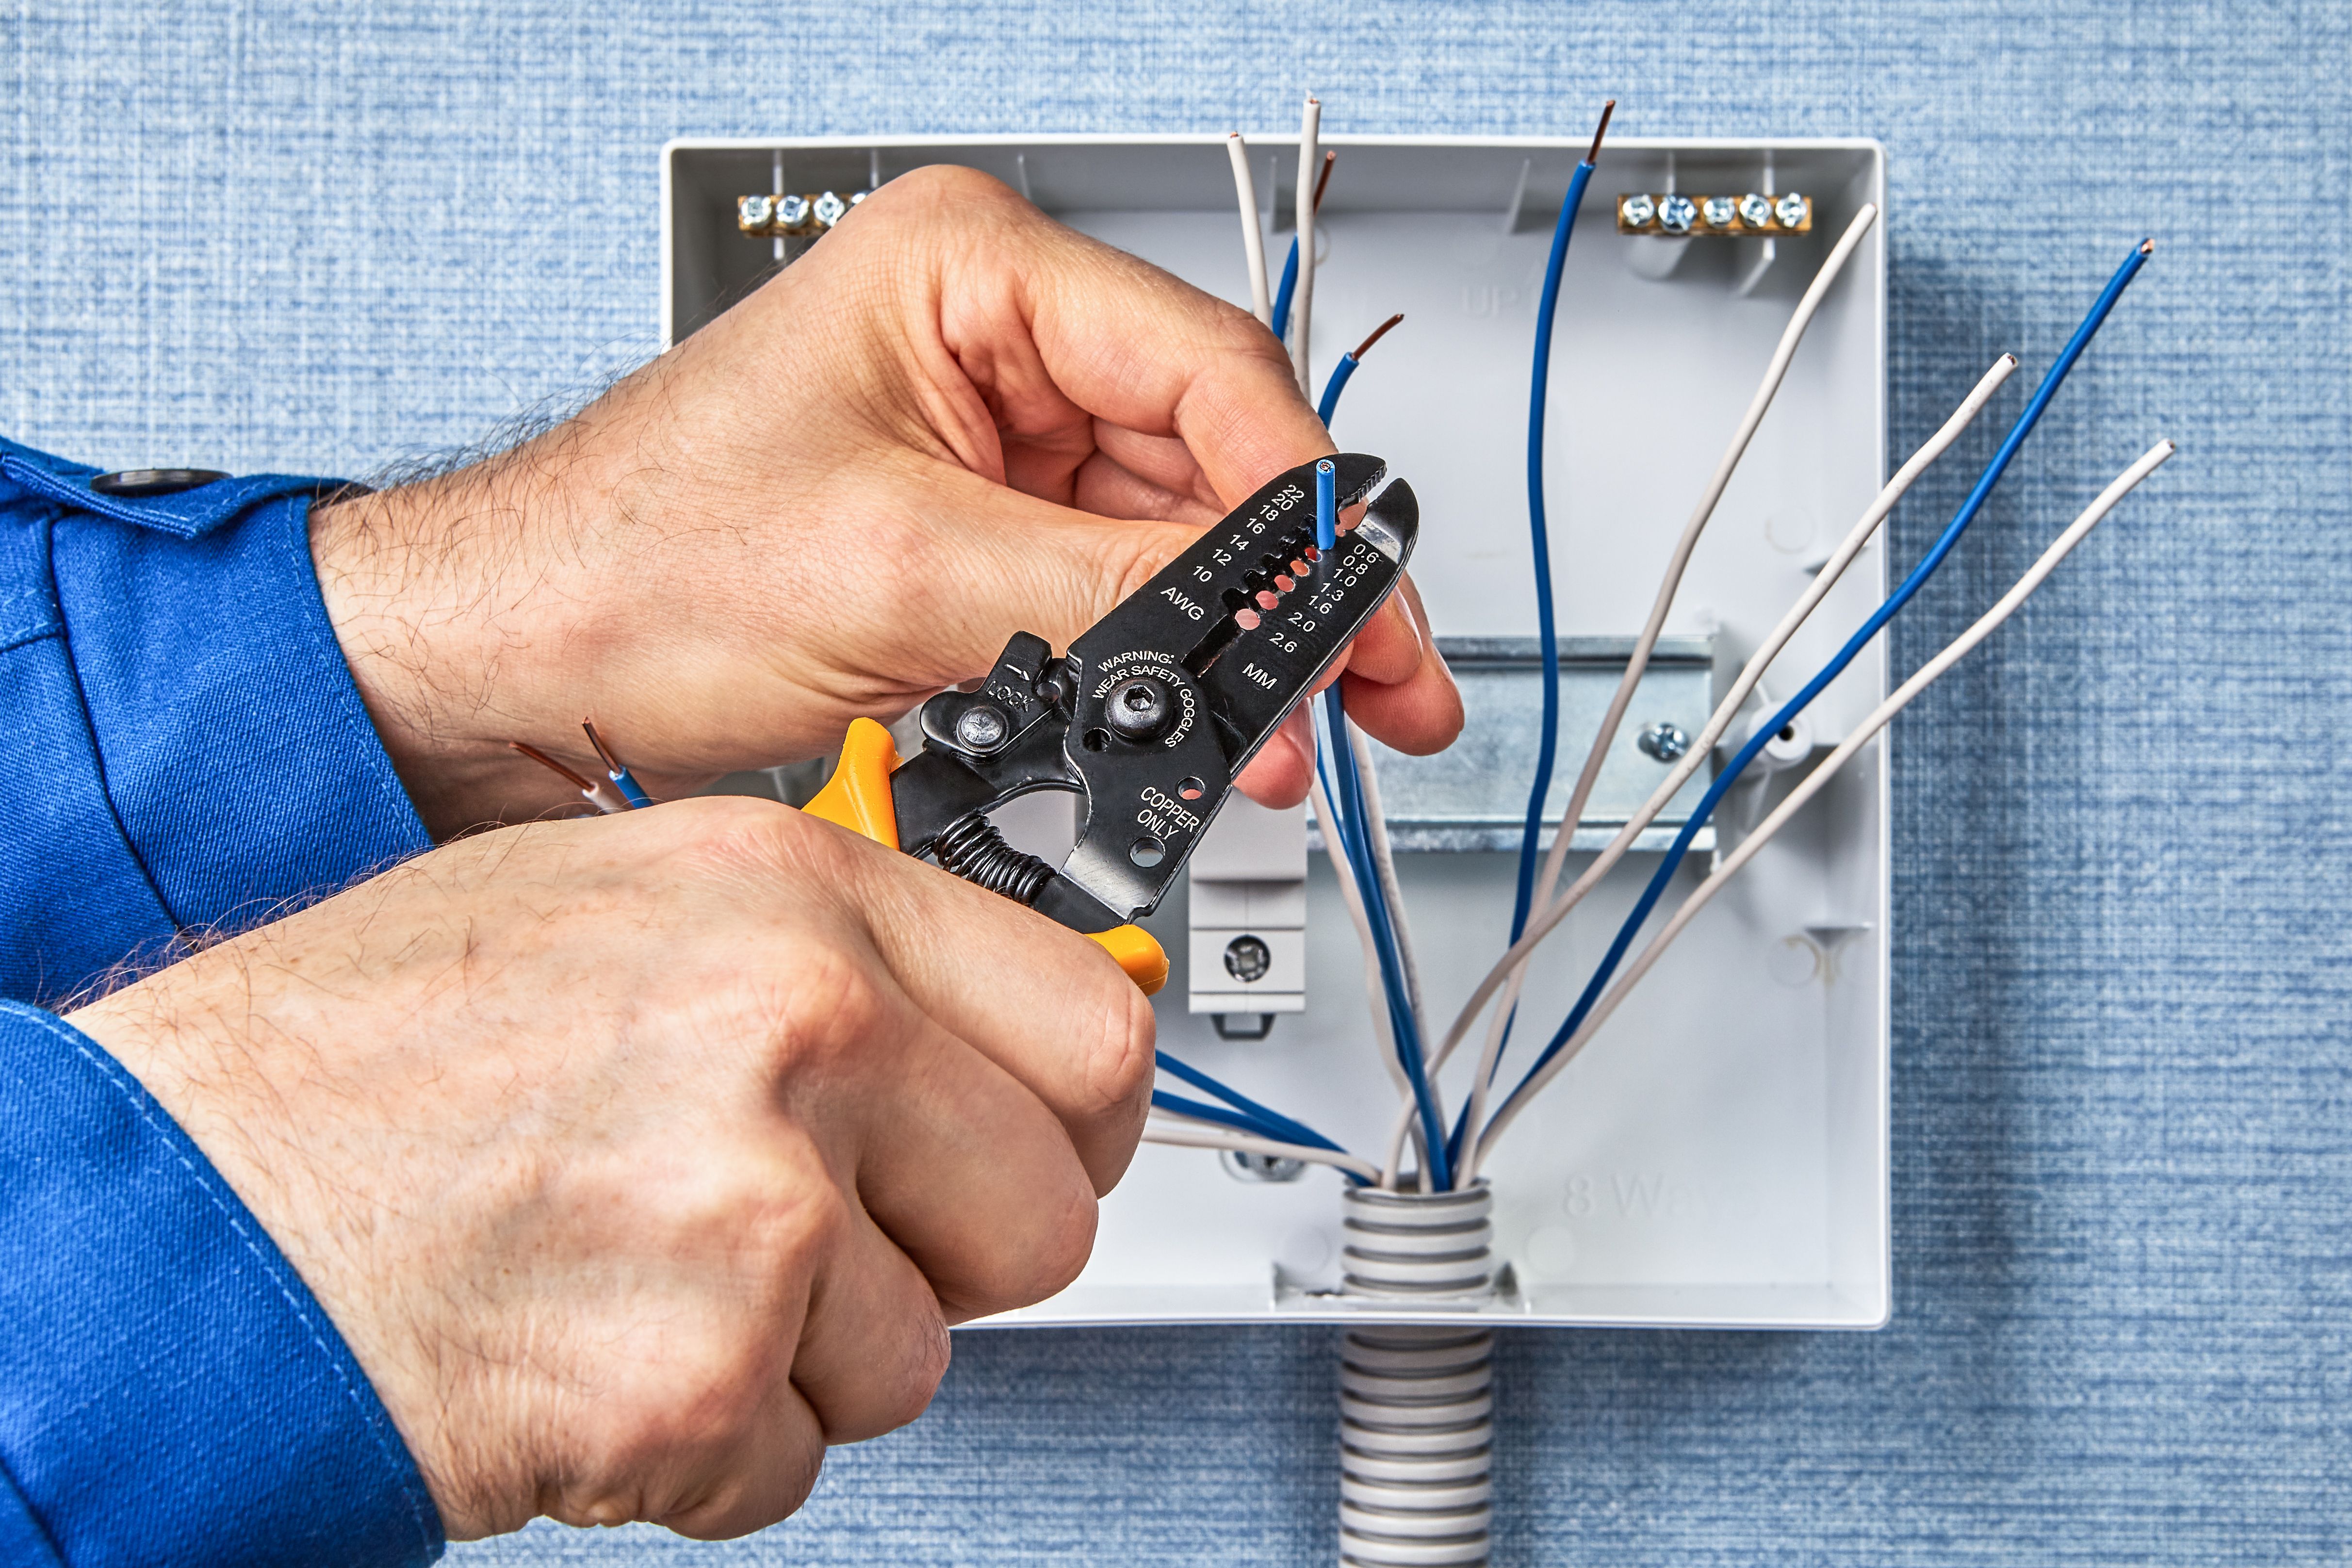
Step 4: Replacing Damaged Cables
If you find any damaged or faulty cables during your inspection and testing, replace them immediately. Use high-quality replacement cables that meet the specifications of your network to ensure optimal performance. Proper installation is key; make sure all connections are secure and free from interference.
Step 5: Routine Monitoring
Once maintenance is complete, establish a routine monitoring schedule to ensure continued network reliability. Regular checks will help you catch potential issues early on and maintain a high-performance network infrastructure. Document your maintenance activities for future reference and better management.
By following these steps, you can effectively maintain your structured cabling system, ensuring it supports your network needs efficiently. Regular DIY maintenance not only extends the life of your cabling infrastructure but also enhances overall network performance.